Regular and High-Altitude Recipes Included.

When a recipe is practically perfect, I don’t mess with it, and this one is. The only thing I added is a high-altitude Boston Cream Pie version for my mountain friends. Otherwise, this is the tried-and-true Wicked Good Boston Cream Pie recipe tested by Cook’s Illustrated (a fine publication, and highly recommended.)
Read the Best Cooking Magazine Ever – Cook’s Illustrated
If you’re searching the internet for recipes, you’ve certainly noticed there are a million recipes for Boston Cream Pie. But this one is one of the few that has been tested extensively, using different combinations of ingredients to ensure the best texture and taste, as well as the most reliable results. And like I say many times, don’t confuse “easy” with “quick.” Is this recipe “easy”? I think so, yes. The instructions are excruciatingly clear, and I even link to a video to give you some visual cues. Is it “quick”? Well – not as quick as dumping some over-processed mix into a bowl, no. But if you want to experience the real thing, and not fool yourself into thinking you’ve actually tasted real Boston Cream Pie, this is as close to “quick” and “easy” as it gets.
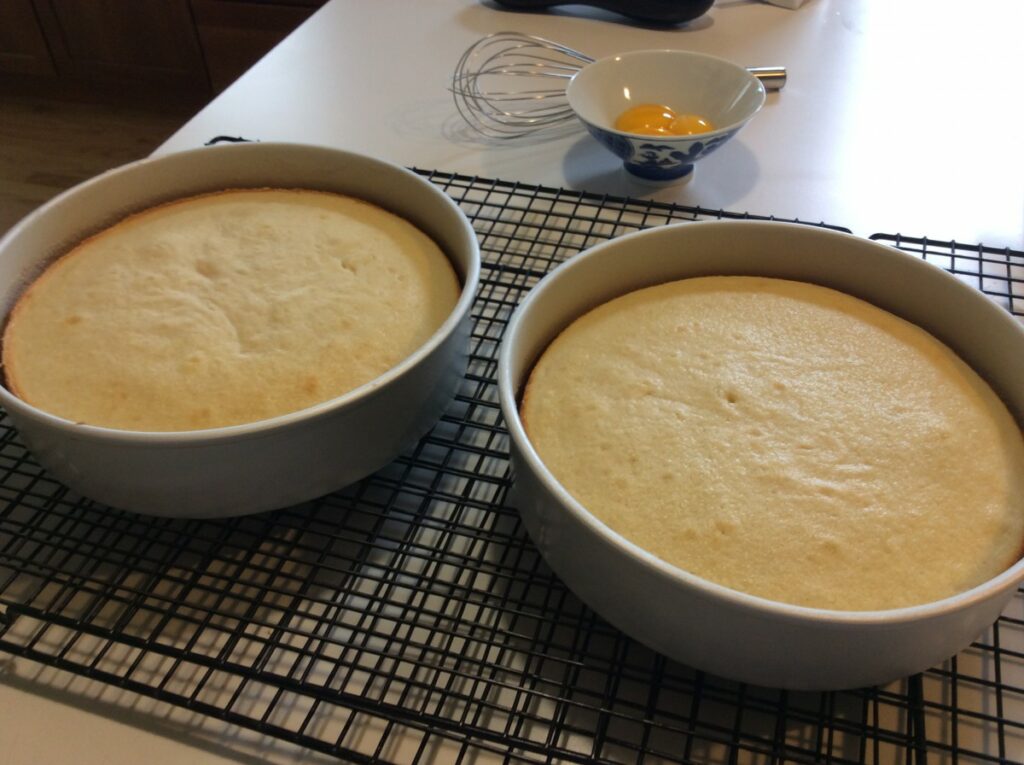
The Cake
For the cake, they use a hot milk sponge cake. I’ve seen everything from boxed cake mix (fie on you, Pinterest!) to scratch butter cake to genoise used. This selection gives you a tender, not-too-dense cake that’s easy to make and let’s you focus more of your efforts on getting the pastry cream right.
The Cream
One difference with this Boston Cream Pie recipe from others you might see is the use of flour in the pastry cream, rather than the more traditional corn starch. As CI notes, it can be a bit difficult using corn starch as the thickener for your pastry cream. Pastry cream depends on the slow cooking of an emulsified mixture of eggs, sugar and thickener. If you use corn starch, it’s much easier to undercook it (resulting in runny cream), or overwhisking (which causes water to re-separate out of the mixture – again giving you runny cream.) Flour isn’t nearly so finicky, and you’ll get good results every time. Note: If you make a boo-boo, and your cream curdles – no worries. Pressing it through a fine mesh strainer will solve the problem and no one will ever know!
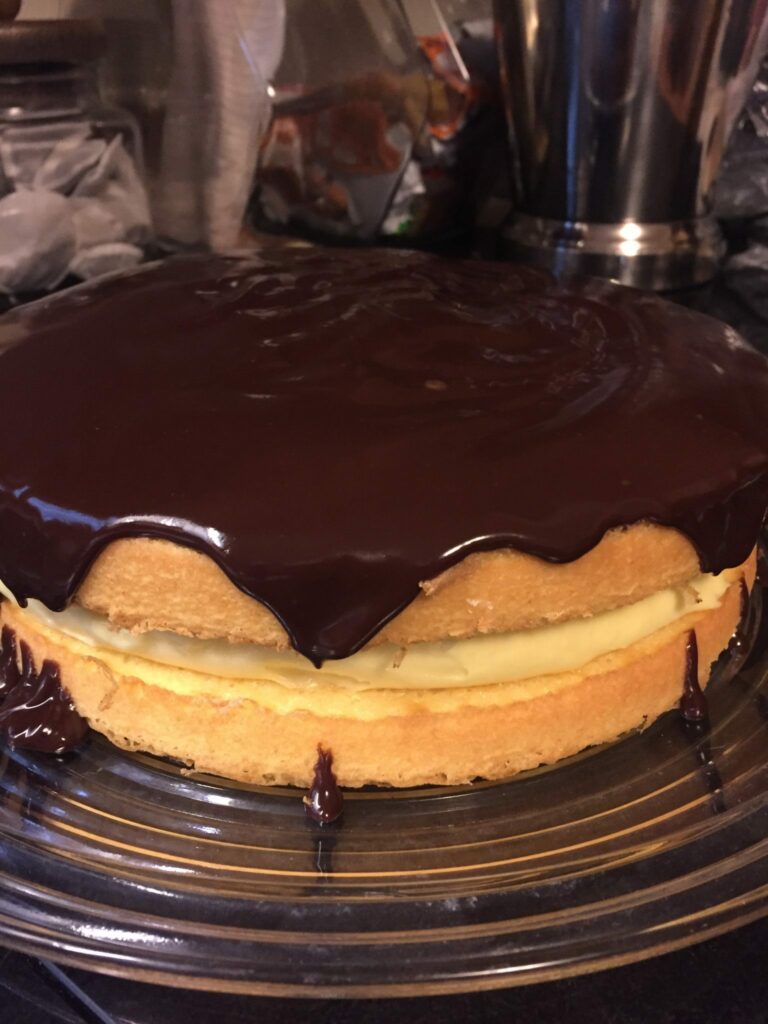
The Chocolate Glaze
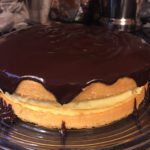
And finally, the glaze. Normally you make the glaze with just cream and chocolate – but that mixture will get very dull upon standing, and it has a tendency to thicken so stiffly that it will crack upon cutting, and won’t give you that nice dribble down the sides that you want for your show-stopping cake. The addition of a little golden syrup (or corn syrup if you use that) will provide a permanent sheen to the chocolate glaze, while giving it the ability to stay a bit softer as it cools, providing a nice look to your cake.
(Looking for another great chocolate cake? Try Don’s Sour Cream Chocolate Cake!)
Wicked Good Boston Cream Pie
Ingredients
Pastry Cream
- 2 Cups Half-and Half
- 6 lg Egg Yolks room temperature
- 1/2 Cup Sugar
- Salt pinch
- 1/4 Cup Flour All-purpose
- 4 tbsp Butter, unsalted Cut into pieces and chilled
- 1 1/2 tsp Vanilla
Cake
- 1 1/2 Cups Flour All-purpose
- 1 1/2 tsp Baking Powder
- 3/4 tsp Salt
- 3/4 Cup Milk 5% fat, whole
- 6 tbsp Butter, unsalted
- 1 1/2 tsp Vanilla
- 3 lg Eggs room temperature
- 1 1/2 Cups Sugar
Glaze
- 1/2 Cup Heavy Cream
- 2 tbsp Golden Syrup
- 4 oz Bittersweet Chocolate chopped fine
Instructions
For the Pastry Cream:
- Heat half-and-half in medium saucepan over medium heat until just simmering. Meanwhile, whisk yolks, sugar, and salt in medium bowl until smooth. Add flour to yolk mixture and whisk until incorporated. Remove half-and-half from heat and, whisking constantly, slowly add ½ cup to yolk mixture to temper. Whisking constantly, return tempered yolk mixture to half-and-half in saucepan.
- Return saucepan to medium heat and cook, whisking constantly, until mixture thickens slightly, about 1 minute. Reduce heat to medium-low and continue to simmer, whisking constantly, 8 minutes. Check out this video to get a visual on how this works.
- Increase heat to medium and cook, whisking vigorously, until bubbles burst on surface, 1 to 2 minutes. Remove saucepan from heat; whisk in butter and vanilla until butter is melted and incorporated. Strain pastry cream through fine-mesh strainer set over medium bowl. Press lightly greased parchment paper directly on surface and refrigerate until set, at least 2 hours and up to 24 hours.
For the Cake:
- Adjust oven rack to middle position and heat oven to 325 degrees. Lightly grease two 9-inch round cake pans with nonstick cooking spray and line with parchment. Whisk flour, baking powder, and salt together in medium bowl. Heat milk and butter in small saucepan over low heat until butter is melted. Remove from heat, add vanilla, and cover to keep warm.
- In stand mixer fitted with whisk attachment, whip eggs and sugar at high speed until light and airy, about 5 minutes. Remove mixer bowl from stand. Add hot milk mixture and whisk by hand until incorporated. Add dry ingredients and whisk until incorporated.
- Working quickly, divide batter evenly between prepared pans. Bake until tops are light brown and toothpick inserted in center of cakes comes out clean, 20 to 22 minutes.
- Transfer cakes to wire rack and cool -completely in pan, about 2 hours. Run small plastic knife around edge of pans, then invert cakes onto wire rack. Carefully remove parchment, then reinvert cakes.
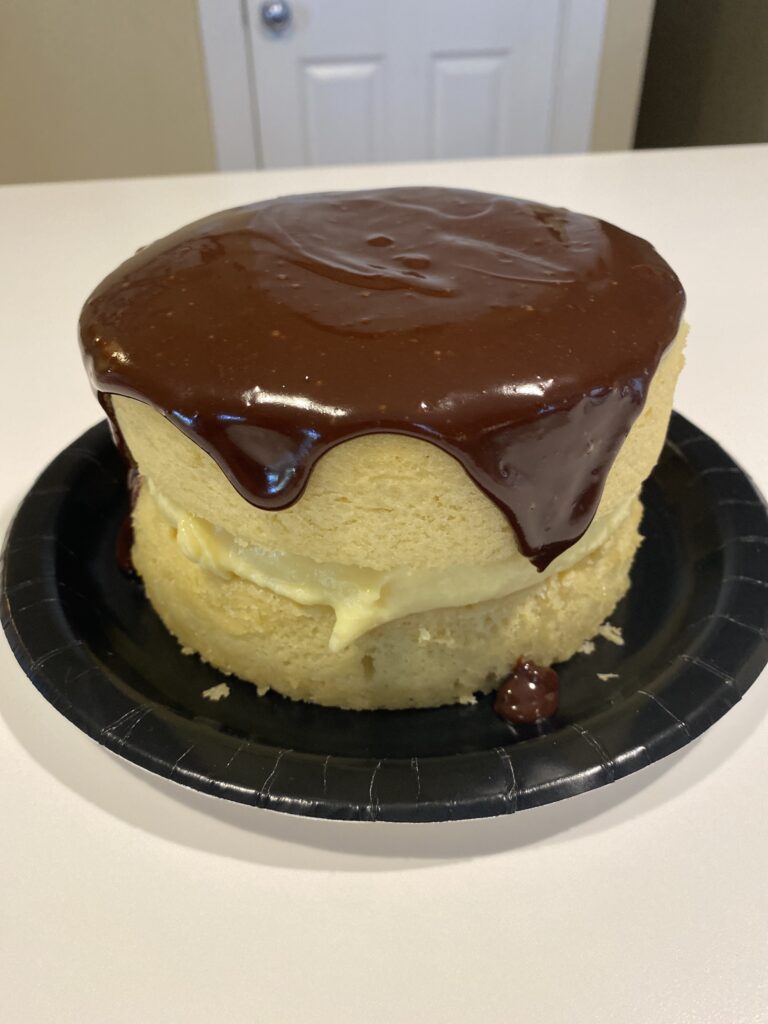
To Assemble:
- Place one cake round on large plate. Whisk pastry cream briefly, then spoon onto center of cake. Using offset spatula, spread evenly to cake edge. Place second layer on pastry cream, bottom side up, making sure layers line up properly. Press lightly on top of cake to level. Refrigerate cake while preparing glaze.
For the Glaze:
- Bring cream and corn syrup to simmer in small saucepan over medium heat. Remove from heat and add chocolate. Whisk gently until smooth, 30 seconds. Let stand, whisking occasionally, until thickened slightly, about 5 minutes.
- Pour glaze onto center of cake. Use offset spatula to spread glaze to edge of cake, letting excess drip decoratively down sides. Chill finished cake 3 hours before slicing. Cake may be made up to 24 hours before serving.
Notes
And as promised, here is the high-altitude version of the Wicked Good Boston Cream Pie. It’s set for 5,000 ft.
Wicked Good Boston Cream Pie – High Altitude Version
Ingredients
Pastry Cream
- 2 Cups Half-and Half
- 6 lg Egg Yolks room temperature
- 1/2 Cup Sugar
- Salt pinch
- 1/4 Cup Flour All-purpose
- 4 tbsp Butter unsalted Cut into pieces and chilled
- 1 1/2 tsp Vanilla
Cake
- 1 1/2 Cups Flour PLUS 2 TBSP All-purpose
- 3/4 tsp Baking Powder
- 3/4 tsp Salt
- 3/4 Cup Milk 5% fat, whole
- 6 tbsp Butter unsalted
- 1 1/2 tsp Vanilla
- 4 lg Eggs room temperature
- 1 1/2 Cups Sugar LESS 1 1/2 TBSP
Glaze
- 1/2 Cup Heavy Cream
- 2 tbsp Golden Syrup or Corn Syrup
- 4 oz Bittersweet Chocolate chopped fine
Instructions
For the Pastry Cream:
- Heat half-and-half in medium saucepan over medium heat until just simmering. Meanwhile, whisk yolks, sugar, and salt in medium bowl until smooth. Add flour to yolk mixture and whisk until incorporated. Remove half-and-half from heat and, whisking constantly, slowly add ½ cup to yolk mixture to temper. Whisking constantly, return tempered yolk mixture to half-and-half in saucepan.
- Return saucepan to medium heat and cook, whisking constantly, until mixture thickens slightly, about 1 minute. Reduce heat to medium-low and continue to simmer, whisking constantly, 8 minutes. Check out this video to get a visual on how this works.
- Increase heat to medium and cook, whisking vigorously, until bubbles burst on surface, 1 to 2 minutes. Remove saucepan from heat; whisk in butter and vanilla until butter is melted and incorporated. Strain pastry cream through fine-mesh strainer set over medium bowl. Press lightly greased parchment paper directly on surface and refrigerate until set, at least 2 hours and up to 24 hours.
For the Cake:
- Adjust oven rack to middle position and heat oven to 350 degrees. Lightly grease two 9-inch round cake pans with nonstick cooking spray and line with parchment. Whisk flour, baking powder, and salt together in medium bowl. Heat milk and butter in small saucepan over low heat until butter is melted. Remove from heat, add vanilla, and cover to keep warm.
- In stand mixer fitted with whisk attachment, whip eggs and sugar at high speed until light and airy, about 5 minutes. Remove mixer bowl from stand. Add hot milk mixture and whisk by hand until incorporated. Add dry ingredients and whisk until incorporated.
- Working quickly, divide batter evenly between prepared pans. Bake until tops are light brown and toothpick inserted in center of cakes comes out clean, 18 to 20 minutes.
- Transfer cakes to wire rack and cool completely in pan, about 2 hours. Run small plastic knife around edge of pans, then invert cakes onto wire rack. Carefully remove parchment, then reinvert cakes.
To Assemble:
- Place one cake round on large plate. Whisk pastry cream briefly, then spoon onto center of cake. Using offset spatula, spread evenly to cake edge. Place second layer on pastry cream, bottom side up, making sure layers line up properly. Press lightly on top of cake to level. Refrigerate cake while preparing glaze.
For the Glaze:
- Bring cream and golden syrup or corn syrup to simmer in small saucepan over medium heat. Remove from heat and add chocolate. Whisk gently until smooth, 30 seconds. Let stand, whisking occasionally, until thickened slightly, about 5 minutes.
- Pour glaze onto center of cake. Use offset spatula to spread glaze to edge of cake, letting excess drip decoratively down sides. Chill finished cake 3 hours before slicing. Cake may be made up to 24 hours before serving.
Notes
Here are some of the best baking books out there – also by Cook’s Illustrated and America’s Test Kitchen. I’ve found them very helpful in my baking. Check them out now at Alibris:
How did it turn out for you? Let me know in the comments below.
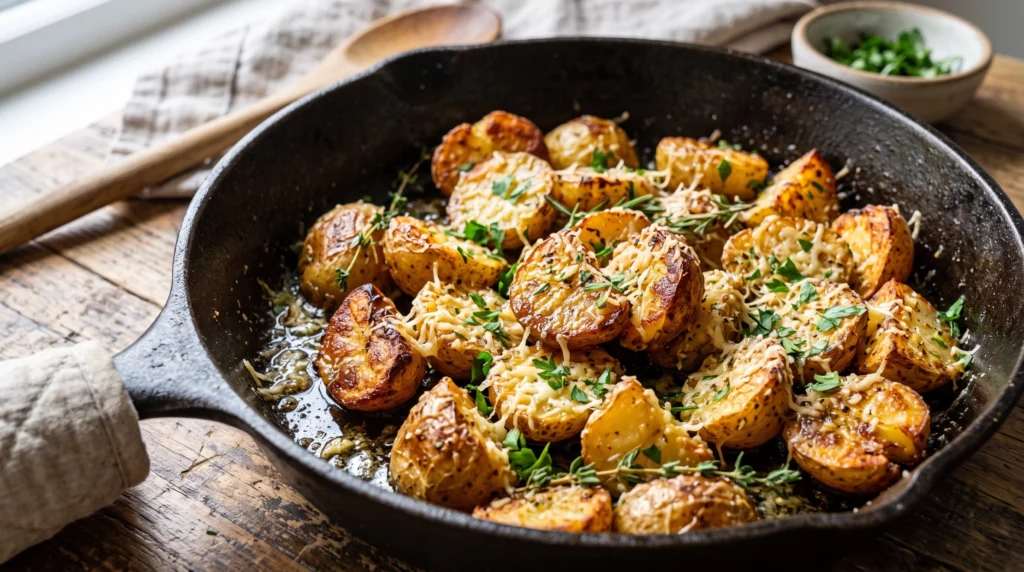
Roasted Garlic Butter Parmesan Potatoes
Roasted Garlic Butter Parmesan Potatoes: Crispy, Cheesy, and Packed With Flavor Sometimes the best dishes…
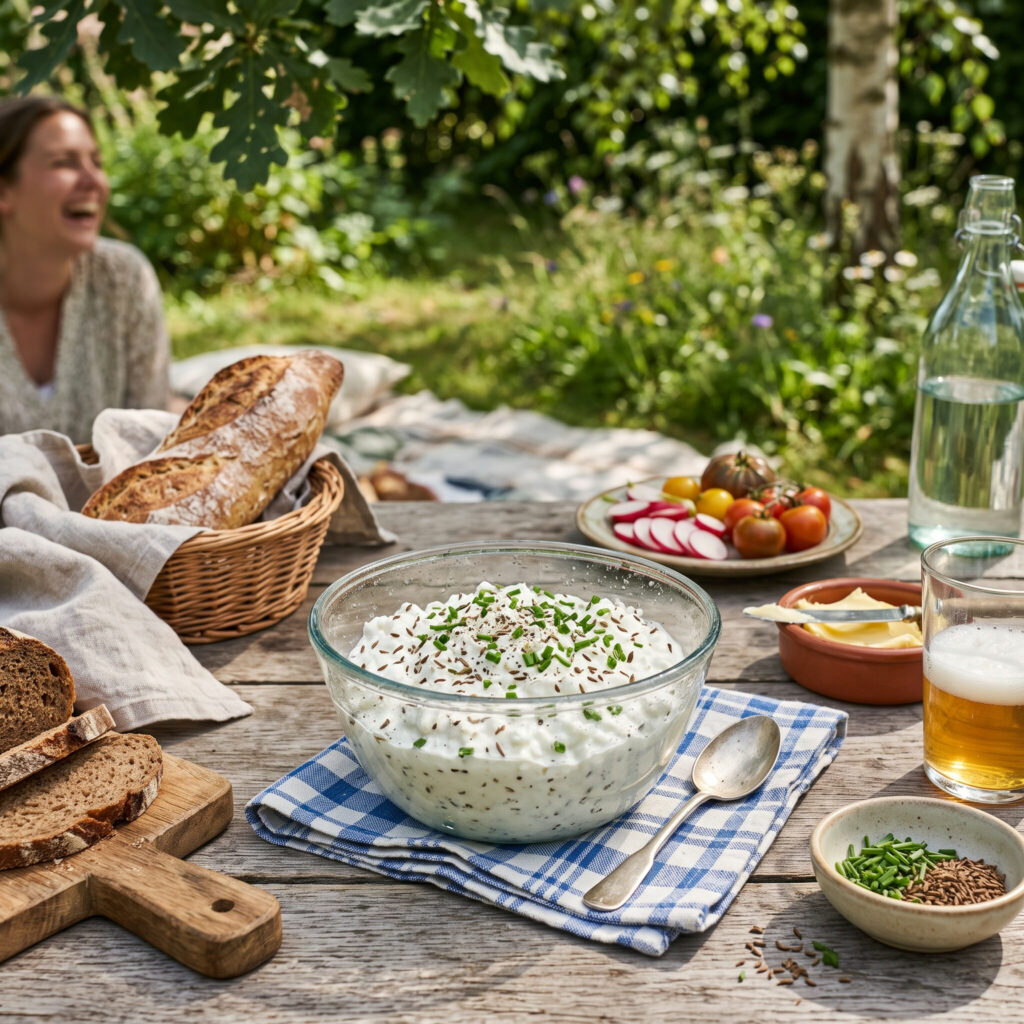
Alpine Village Cottage Cheese
This Alpine Village Cottage Cheese is just an old family favorite my mom used to…

Maraschino Cherry Cake with Cherry Buttercream
A fun cake to make, and a show-stopper to serve, this Maraschino Cherry Cake is…
Easy Hot Milk Cake – Regular and High-Altitude
This Easy Hot Milk Cake brings a cozy and welcoming feel to my kitchen. The…
Boston Cream Pie for Two
Classic Boston Cream Pie now sized for two – in regular and high-altitude variations. The…
Wicked Good Boston Cream Pie Recipes
Regular and High-Altitude Recipes Included. Wicked Good Boston Cream Pie When a recipe is practically…