
Meat Cooking Temperatures. The temperature at which you cook your meat will determine the flavor and the moisture of the finished product. Low temperatures protect the moisture; high temperatures develop flavor. My recipes use a combination of both to give you the best of both worlds.
Searing
When a recipe calls for searing the meat, you’re looking to develop a browned crust on all sides of the meat. Searing does not protect the moisture content, but it does develop a lot of flavor. After searing, baking will draw this flavor into the meat.
To sear meat, first make sure the surface of the meat is as dry as you can get it by patting it with paper towels. Air drying on a rack is also a good idea, if you have the time.
Heat a small amount of oil in a pan over high heat until the oil is shimmering. Use a high-heat oil such as canola (rapeseed) or grapeseed oil. Avoid extra-virgin olive oil for high-heat frying – the smoke point is just too low.
Do not crowd your pan when searing or browning meat. The process releases a lot of water, and if things are crowded in your pan, you’ll simply steam the meat, which does not produce the flavorful crust you want.
Low Heat Baking
Low heat cooking (250 to 300F) preserves the internal moisture of any cut of meat. During baking, moisture in the outer layers rushes to the center of the cut. Too high heat, and the moisture simply boils off into the oven.
Low heat baking also serves to tenderize those less-expensive cuts like ribs and round roasts. Brining the meat in a salt bath overnight will help as well, but I’ve found that simply rubbing the meat generously with salt and letting it rest for an hour or so will give you many of the same benefits. And, frankly, I never have room in my fridge for a big tub of salt water!
Resting
Don’t underestimate the cooking that will continue even after you’ve removed the meat from the oven. This doesn’t apply to poultry as much, but dense meats like beef, lamb and veal will be overcooked and dry if you keep them in the oven until the final temperature is reached. Remove them with about 5F left to go, and let them rest for 10 minutes to reach final temperature.
Resting any meat will help retain internal juices that would be lost with premature carving. Remember all the moisture that is driven into the center of the cut during baking? Well, that same moisture will flow back out the minute you remove it from heat. You want to stabilize that moisture prior to allowing it to escape through a slice.
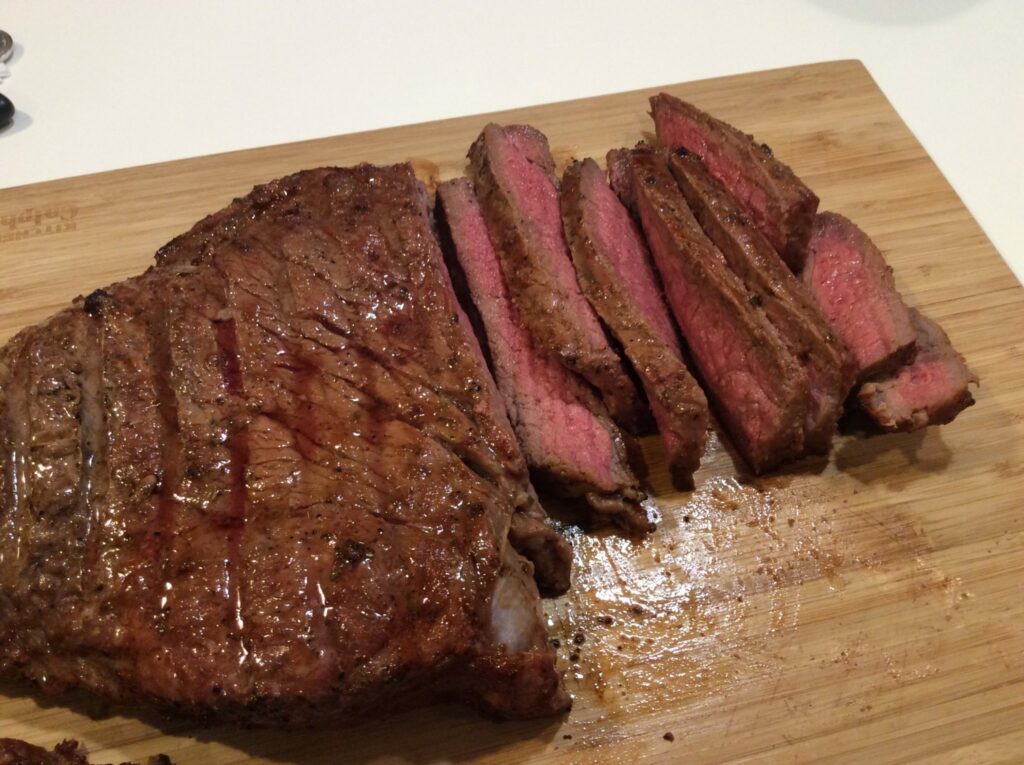
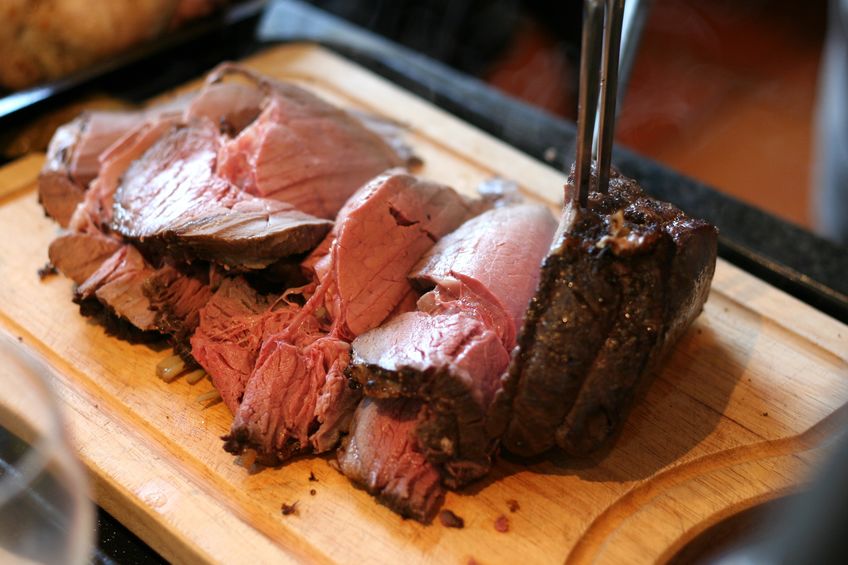
The size of your meat portion will determine how long you should let it rest prior to carving. For small thin steaks – the normal 10 minutes will be enough. For thicker pieces like roasts, give it 20 minutes. And for a large turkey that you want to be moist for Thanksgiving, you really need to let it rest for 40 minutes before carving.
Pink Pork
I grew up in the day when cooking pork to a gruesome gray was required. Seeing a touch of pink was deemed dangerous. But this is not the case anymore. Follow the temperatures below for a juicy pork roast with just a touch of pink in the center.
How to Test Meat Temperature
I prefer a digital probe thermometer – they aren’t terribly expensive, they read much faster, and they are more accurate than the simple dial-probes you can buy at the grocery. Check out these professional-grade probe thermometers from Amazon:
When testing meat temperature, you’re trying to find the lowest internal temperature. You want to avoid bone or fat, both of which absorb heat at faster rates than meat protein.
When testing your meat temperature, I find it best to remove the meat from the oven first, keeping the door closed as much as possible. Leaving the door open can reduce the oven temp by 50 degrees – depending on how fast you are. If you’re at the end of your baking cycle, that last 10 minutes makes all the difference!
Start testing the temp with about 30 minutes left on your recipe. Insert the probe into the thickest part of your meat, avoiding fat and bone. Consult the charts below for the proper baking temperatures. And don’t forget about the carryover heat!
Meat Cooking Temperatures
Here’s a simple chart for gauging whether your cut of meat is cooked through or not.
| Product | Minimum Internal Temperature & Rest Time |
| Beef, Pork, Veal & Lamb Steaks, chops, roasts | 145°F (62.8°C) and allow to rest for at least 3 minutes. |
| Ground Meats | 160°F (71.1°C) |
| Ground Poultry | 165°F |
| Ham, fresh or smoked (uncooked) | 145°F (62.8°C) and allow to rest for at least 3 minutes |
| Fully Cooked Ham (to reheat) | Reheat cooked hams packaged in USDA-inspected plants to 140°F (60°C) and all others to 165°F (73.9°C). |
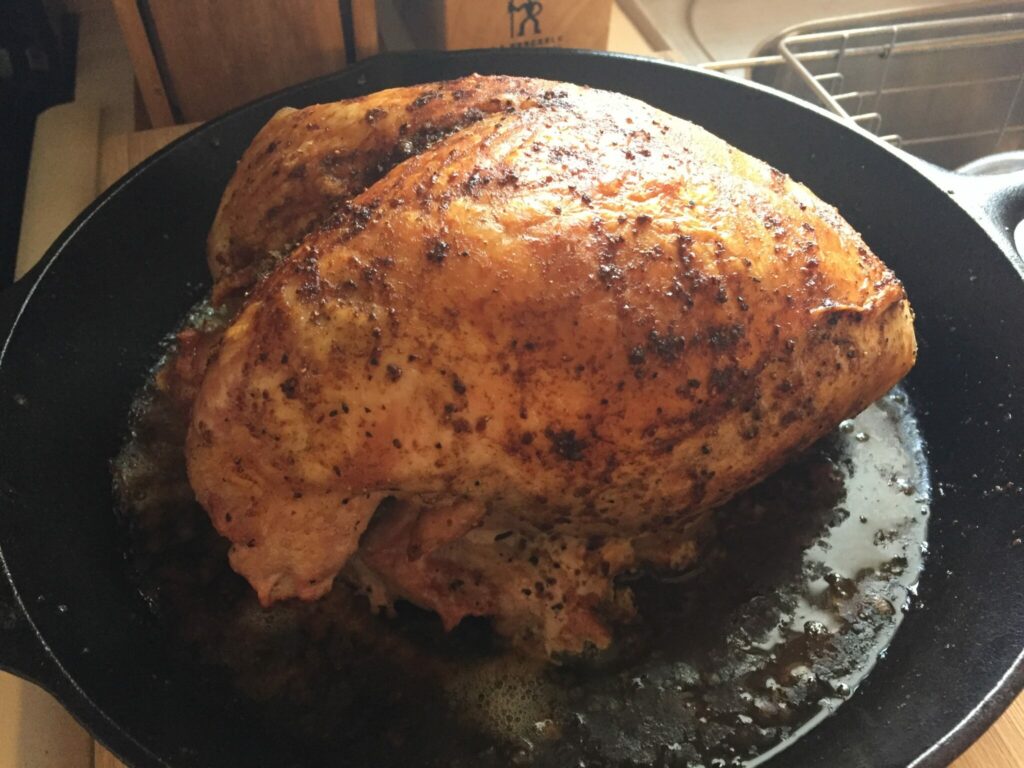
| All Poultry (breasts, whole bird, legs, thighs, wings, ground poultry, giblets and stuffing | 165°F (73.9°C) |
| Eggs | 160°F (71.1°C) |
| Fish & Shellfish | 145°F (62.8°C) |
| Leftovers | 165°F (73.9°C) |
| Casseroles | 165°F (73.9°C) |
Easy Hot Milk Cake – Regular and High-Altitude
This Easy Hot Milk Cake brings a cozy and welcoming feel to my kitchen. The…
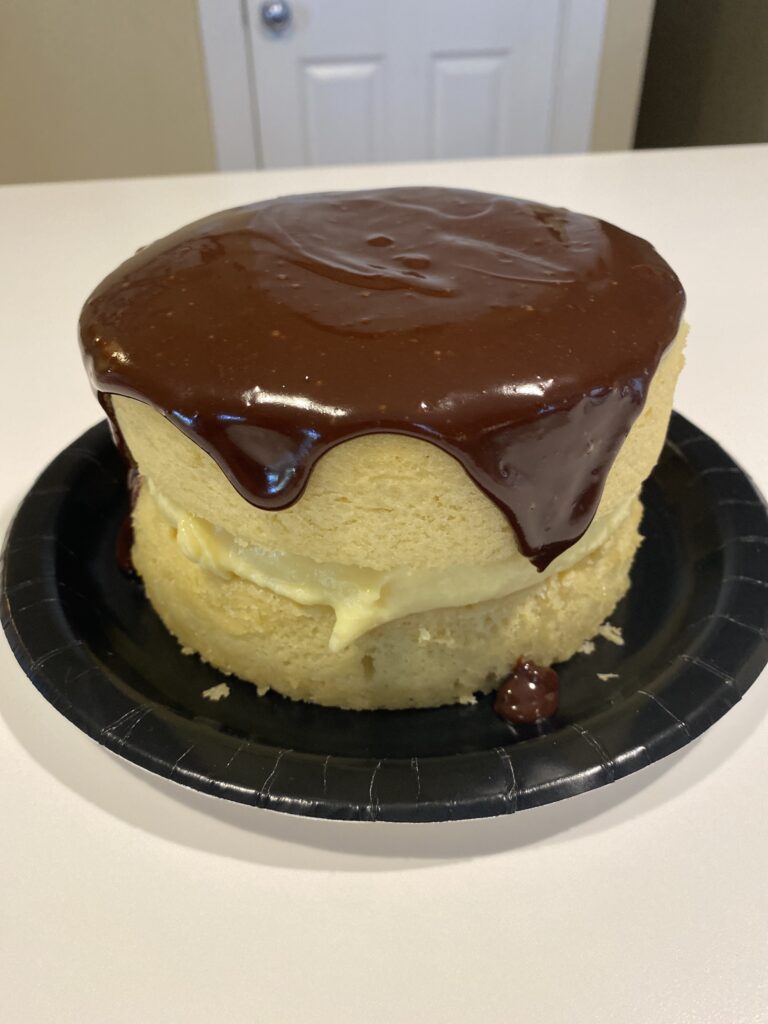
Boston Cream Pie for Two
Classic Boston Cream Pie now sized for two – in regular and high-altitude variations. The…
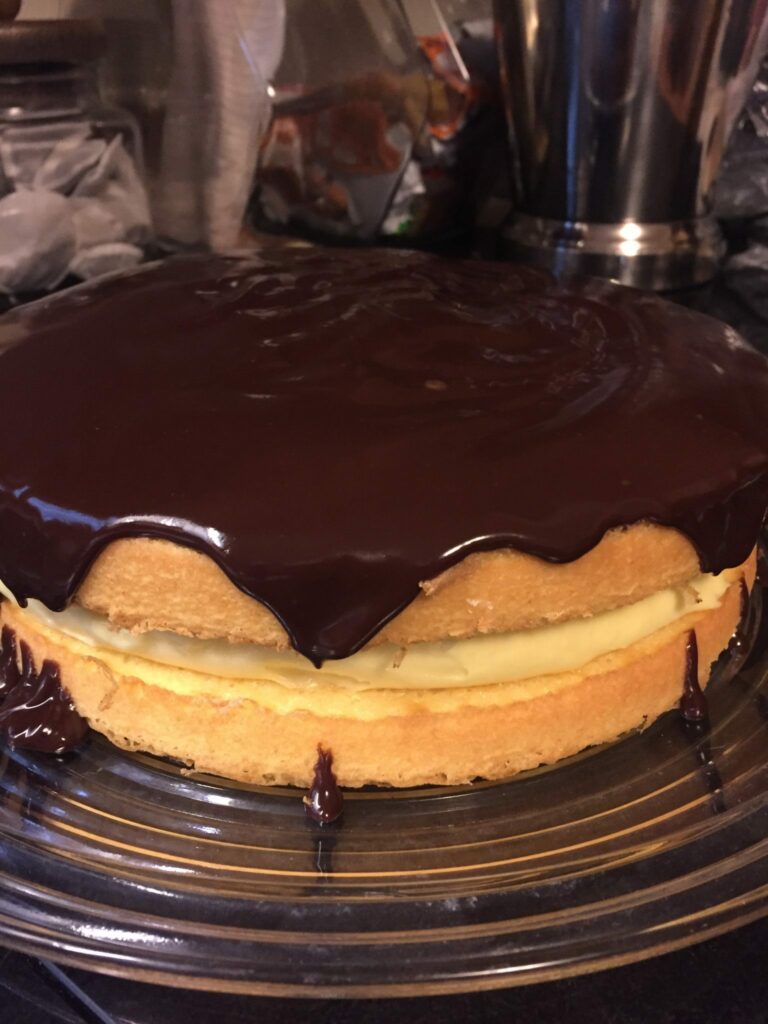
Wicked Good Boston Cream Pie Recipes
Regular and High-Altitude Recipes Included. Wicked Good Boston Cream Pie When a recipe is practically…
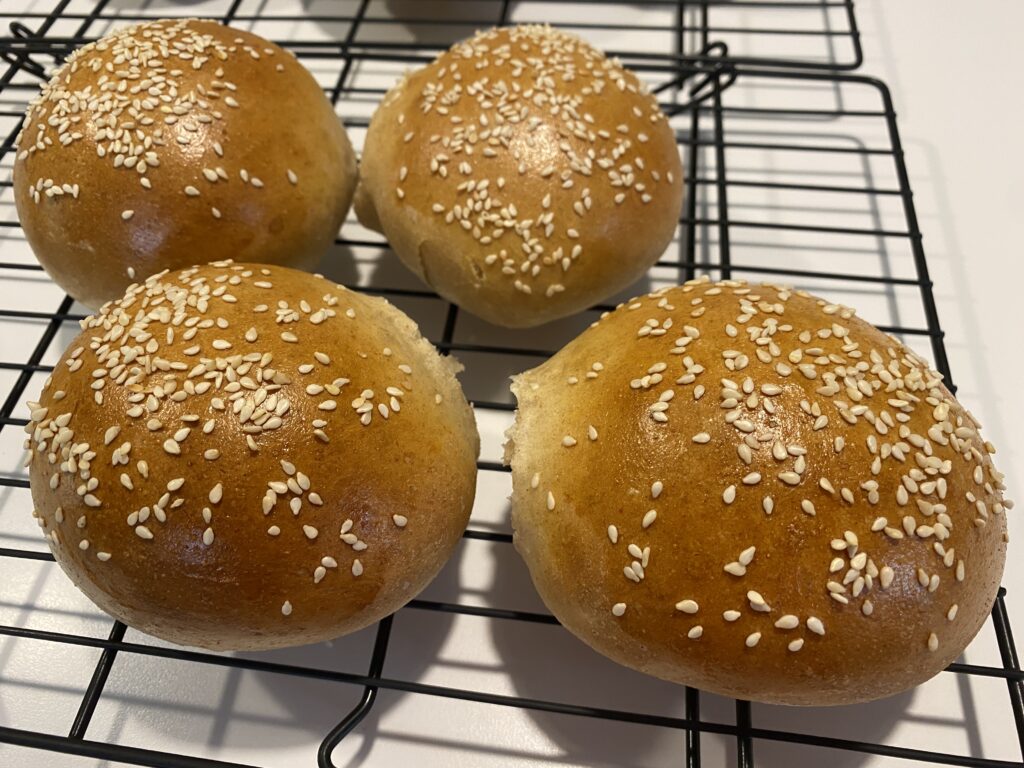
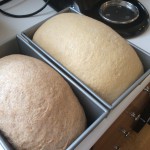
Homemade Sesame Seed Buns
Forget those sad, wimpy styrofoam buns from the store. These Homemade Sesame Seed Buns are…
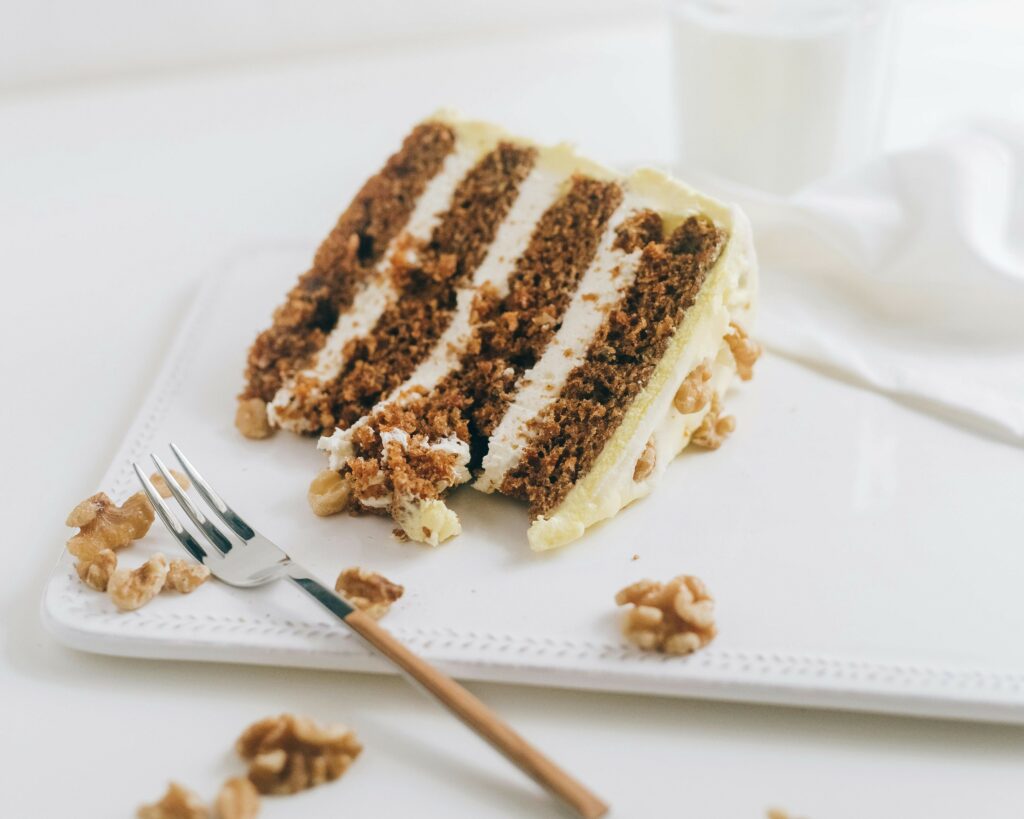
High-Altitude Carrot Cake
Carrot Cake – for most, this cake is really quite simple, even if it has…
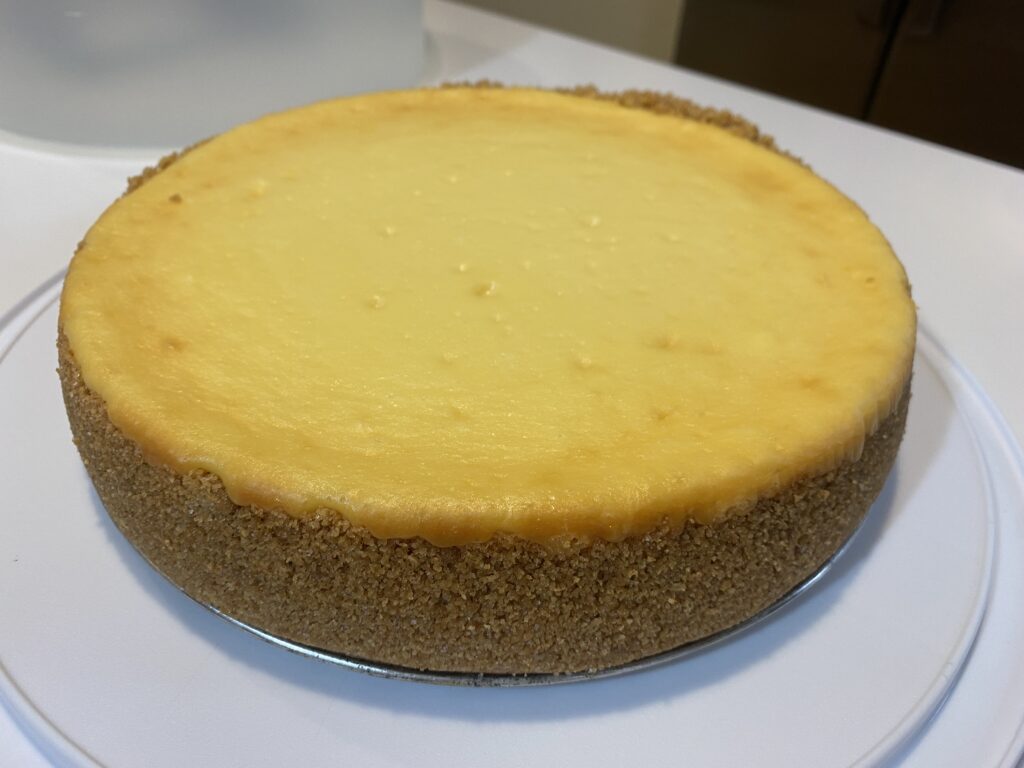
Cheesecake Recipe (No Water Bath!)
If you’ve ever wanted to try baking a New York style cheesecake, but were a…
Hey Don! This is a great article! I just have a couple of questions:
When searing meat, if you decide to go the air drying route rather than blotting with a towel, how long would you recommend letting the meat dry before searing?
I think I skip the step of letting the meat rest long enough after it’s been taken off the heat. I really appreciate the recommended times there. I know we don’t usually let our thicker steaks sit for 20 minutes before diving in!
I usually dry it for about an hour if I’m going that route – it really is better. But I’m here in Colorado in a really dry climate, so it might be different where you live.
And yes, EVERYONE skips that step! If you ever watch Gordon Ramsay on Hell’s Kitchen, he’s constantly yelling at his chefs not to skip that step. It really, truly makes a huge difference.