
Your bread machine is far more useful than you may have imagined. Learn how to Get the Most From Your Bread Machine.
My bread machine is simply indispensable. I use it at least once a week, sometimes more if I’m making dough for noodles or rolls. But because it’s a machine and can’t tell when dough is too dry or when it has proofed enough for baking, you really have to adjust every single recipe you throw at it.
It is well-worth your time to look at what goes into a loaf of bread. Check out my article here for a start. Normally, the baker gets to adjust some processes to ensure a perfect loaf. She can adjust the ingredients, the kneading, the proofing and the baking. Once she’s done it a few times, she has the feel for it all.
But while a bread machine takes a lot of the work out of baking bread, it also removes a big part of the control. And unless you have an ultra-high-end machine, you have no control over the kneading, proofing or baking time, so you’re left with fewer options.
Here are some tips and pointers on how to adjust your bread recipes for your particular bread machine, to make sure you produce the best-quality loaves every time.
Next time you make one, look at the loaf you pull out of your machine and think about these elements:
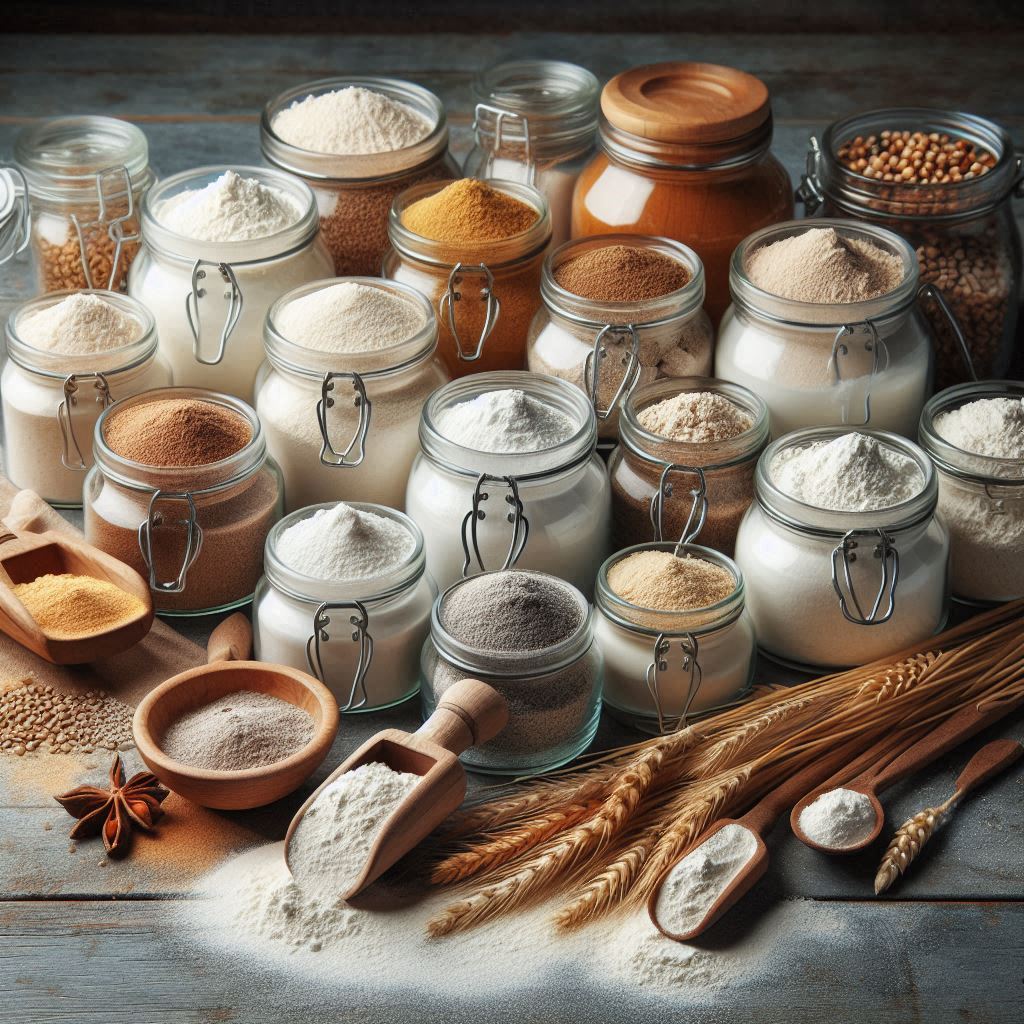
Use Bread Flour in your recipe, rather than all-purpose flour.
Bread flour is higher in protein and is better able to form a strong structure. If you must use all-purpose flour, you can improve the structure by adding one tablespoon of vital wheat gluten for every cup of flour.
Weigh your flour, rather than depending on a measuring cup.
The amount of flour used can vary based on how you scoop it into a measuring cup. But weighing your flour ensures that you’re using the same mass of flour, rather than volume, each time. Digital scales are really inexpensive now – very easy to use and there’s just no excuse not to have one.
When observing the kneading cycle, is the paddle truly working the dough, or just slapping it around in the pan?
If your dough is too dry or too stiff, the paddle may not knead the dough properly. This will result in a very crumbly, unstructured loaf. When you look into the pan, you should see the paddle pressing into the bottom of the loaf, moving all the way through, and pulling the dough from the top down to the bottom. You should also see a slight amount of dough sticking to the bottom of the pan, making a small ring underneath the paddle.
If possible, you can pause the kneading process and touch the dough with your finger. If it feels so dry that you feel no stickiness at all, add 2 tablespoons of water to the recipe. (You can add it to the pan if you still have time enough for incorporating.) Note this water and add it to your recipe at the beginning next time.
Is the loaf fully risen, or does it appear to have collapsed upon itself?
Depending on your altitude, you may need to adjust the amount of yeast used in your recipe. Too much yeast at a higher altitude (above 3,000 ft) can cause the loaf to rise too fast during proofing, not allowing enough structure to be built.
A normal bread recipe calls for about 2 to 2 1/2 tsp of yeast for every 3 cups of bread flour. When baking your next loaf, check on the proofing regularly and see if the loaf collapses prior to baking. If so, decrease the yeast by 1/2 tsp and try again.
You can also try adding an additional 1/2 tsp of salt, or decreasing the sugar by 1 tsp. The salt can inhibit the action of the yeast, and decreasing the sugar can starve the yeast a bit – both actions can slow the rising, allowing for better structure to develop.
Did the dough not rise enough, leaving you with a small, dense brick?
If the bread didn’t rise enough in the first place, you could have the opposite problem – not enough action from the yeast.
- Check the date on your yeast, and make sure it is fresh.
- Make sure you don’t allow the salt to come into direct contact with the yeast, as this can inhibit its growth.
- Many bread machines have a warming cycle at the beginning to make sure your water is warm enough to activate the yeast. If yours does not, be sure to add warm water to your pan (just under 110°F).
- And finally, you may need to add 1 teaspoon of sugar to your recipe to give the yeast something to live on while it’s proofing.
Is your loaf overly browned?
Loaves that bake too long can become dry.
- Check your machine’s settings to see if you can select a lighter crust.
- You may have too much sugar in the recipe, leading to excess carmelization during baking. This you can actually smell when it’s happening, so use your nose and see if you get a “burnt sugar” smell. Decrease the sugar by a teaspoon.
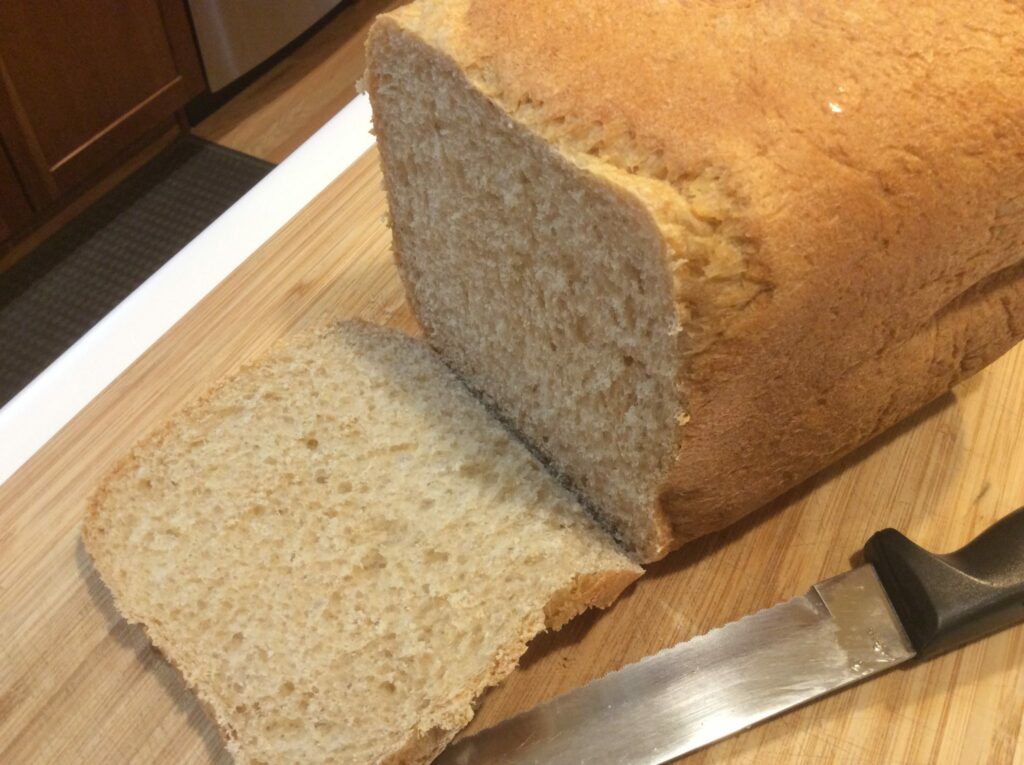
When you cut into it, do the slices peel away gently, or fall away like a tree in a forest?
When you pinch a slice in the middle, do you pull away a good-sized chunk of well-developed bread, or do you simply pinch away some crumbs? This is a sign of good v. bad structure, and is almost certainly related to the kneading. See above to check your recipe’s liquid content.
Is the bread flavorful?
One of the reasons I tend to use butter v. oil in my bread is because of the flavor butter adds. In a machine, you don’t have a chance to slow-rise the dough in the refrigerator overnight, which is ideal for developing flavor. But you can adjust your ingredients to get the best flavor possible, and going with butter is a good start. Milk powder is another good idea. Potato flakes add a nice chewy texture that I like.
If you’re looking for a good quality, reasonably-priced bread machine, check out this model from Hamilton Beach.
Try Just Making Dough
Some recipes, like dinner rolls, require you to form the dough into smaller pieces, or a special shape. Use the “Dough” setting on your machine to do all the hard work for you, and you can then focus on getting the second proofing right. Your machine may finish with a final “punch down” or it may just beep at you when the first proofing is done. Check for proofing by poking your finger into the dough. If it springs back and leaves no indention, it needs more time. If it “stays stuck”, it’s ready to go to the next phase.
Your Bread Machine is a Workhorse!
Your bread machine is a flexible tool that can save you a lot of steps in the kitchen. Take the time to explore its functionality.