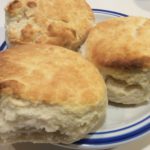
For an item consisting of three ingredients, buttermilk biscuits sure can be tricky. I’ve baked up plenty of hockey pucks over the years, and had almost resigned myself to a biscuit-less life. Until I shared my frustrations with my friend in Georgia, who showed me the Southern secrets to buttermilk biscuit success. This genuine Southern Buttermilk Biscuits Recipe is nothing special – it doesn’t vary wildly from the package recipe you can find on almost any bag of self-rising flour. But it’s the technique that’ll getcha.
There are three critical techniques that go into a successful batch of buttermilk biscuits:
The Right Flour
The Combining of Ingredients
The Right Oven Temperature
My “hockey pucks” suffered from all three of these. I wasn’t using the right flour, I wasn’t combining the ingredients correctly, or using the right amount of liquid, and my oven temp was totally whacko.
The Right Flour. If you ask a Southerner, they’ll tell you the only flour for biscuits is White Lily Brand. This flour is made from 100% red winter wheat. This variety is softer and lighter than typical flour, so your leavening doesn’t have to lift as much weight. Further, it has a lower protein content which also lends to higher rising. And higher rising means fluffier biscuits.
The Combining of Ingredients. It’s critical not to overwork your biscuit dough once you’ve added the liquid. It should be as soggy as possible while still allowing for shaping. This is one reason self-rising flour is preferable, as the leavening is already distributed throughout the flour before you even add liquid. But with self-rising flour, you need some acid to get the rising process started. That’s where the buttermilk comes in. Buttermilk provides that acid to activate the leavening a bit better.
The Right Oven Temperature. You’ve no doubt read in baking books about how oven temps can vary from the thermostat on the stove. Yeah, that’s not just offhand advice – especially with biscuits. Biscuits are baked at a very high temperature for a very short time, so oven temperature is critical to success.
I recently tested my GE oven temp for accuracy, and was amazed at how far off it was. Like many ovens, it has a temperature display on the front. I set the oven temp, wait for that temperature to display (with a beep), and figure I’ve reached the right temperature for my baking. I guarantee you, that is WRONG!
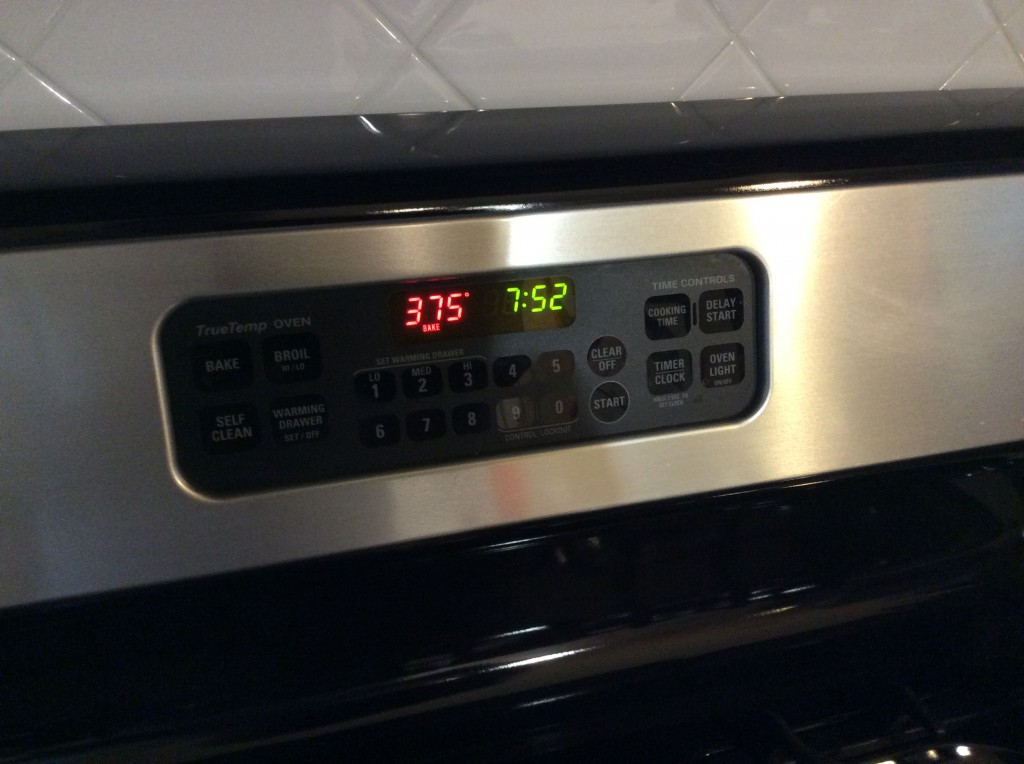
When I tested my oven, I set it for 350F, and checked the temperature when the oven indicated it was ready. The oven temperature was actually only 250F. It took another 20 minutes to reach 340F, and never rose above that. To calibrate my oven, I have to add 10F at the 350F setting to get a true oven temp, and I have to wait much longer for it to reach the set temperature.
At higher temps, it’s even worse. When I set the oven for 500F (biscuit temp), it never rose above 475F, even after 20 minutes! This would be disastrous. You need a very hot oven to ensure that the rising action occurs quickly, cooking and setting the flour without drying out the biscuits. To bake biscuits in my oven, I have to set the temp to 525F and let it warm up for 20 minutes AFTER the “beep”.
Test it yourself. You can pick up a simple oven thermometer below. Just place it in your oven and set a temp – like 350F. Watch and see 1) What temperature it’s actually reading when your oven tells you it’s ready; 2) How long it takes to actually get close to your set temp; and 3) Whether it ever reaches that temp without adjusting your setting.
With this advice from my Georgia friend, I was able to correct my errors and begin to produce biscuits that would have made the Waffle House crowd very happy. Light and fluffy in the middle, golden brown on the top. You’ll love this Buttermilk Biscuits Recipe.
Southern Buttermilk Biscuits
Ingredients
- 2 cups White Lily self-rising flour
- 1/4 cup Shortening I use lard
- 1 cup Buttermilk
- 2 tbsp Butter for brushing tops (optional)
Instructions
- Preheat oven to 500F. Check with an oven thermometer to make sure the temperature is at 500F before starting to bake. It will take a while to warm up.
- Measure 2 cups of flour into a large bowl
- Add the shortening, then cut it into the flour until you get an oatmeal-y texture. I just use my fingers to squeeze the shortening and then continually coat the exposed surface with flour, stirring it around as I go.
- Form a well in your flour mixture and pour in the buttermilk. With your floury hand, coat the buttermilk with flour from the sides, turning the bowl (like you do with pasta flour and eggs). Do not overwork the dough – just mix in the liquid until all the flour is moistened.
- Turn the dough onto a well-floured surface (I use regular flour, not the self-rising flour). Flip it over to cover both sides of the dough, then knead it just once or twice – no more. It will be wet.
- Press the dough into a 1″ thick slab and cut with a straight-sided biscuit cutter. Do not twist the cutter, just press straight down.
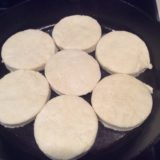
- Place the cut biscuits into a cast-iron skillet. With a finger, wet each biscuit with plain water. This helps form a nice crust.

- Bake the biscuits for 12 minutes, or until the tops are a golden brown. Remove and brush with melted butter, if desired.
Notes
Like it? Check out some other breakfast favorites, like this Easy Breakfast Casserole, or the popular Toaster Oven French Toast.
The Right Pan
I bake my biscuits in a cast-iron skillet. You can use other baking dishes, but I really like the delicate crunch a cast-iron skillet creates when you use it for baking biscuits.

If you want a skillet that will last a lifetime (and more), take a look at the Smithey Essential 3-piece Skillet set. It includes a No. 8, No. 10 and No. 12 skillet, all with the Smithey Signature polished interior that comes pre-seasoned. Beautiful, durable and indispensible in any kitchen. Take a look by clicking here.

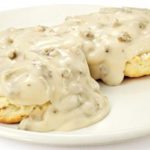
What better to accompany your biscuits than real sausage gravy? This recipe is from Hominy Grill in Charleston, SC. I visited there with my friend Robin a few years ago and tried it myself. They have theirs posted online, so just passing it along here. Enjoy
Hominy Grill Sausage Gravy
Ingredients
- 6 tbsp Yellow Onions diced
- 4 tbsp Bell Peppers diced
- 1 tbsp Butter
- 4 tbsp Flour
- ½ lb Sausage
- 3 cups Hot Chicken Stock
- 1 cup Heavy Cream
- Salt, Black Pepper, Tabasco to taste
Instructions
- Crumble the sausage into the hot butter fat and sauté until it begins to brown.
- Stir in the onions and peppers and cook tender.
- Turn down heat and stir the flour into the fat and cook on low for 3 to 4 minutes.
- Slowly add the hot chicken stock and bring to a simmer for 5 minutes.
- Stir in heavy cream.
- Season with the salt, pepper and Tabasco.

